This post comes to you from the KLIA2 departures hall. We arrived in Kuala Lumpur after spending 4 days in Hong Kong.
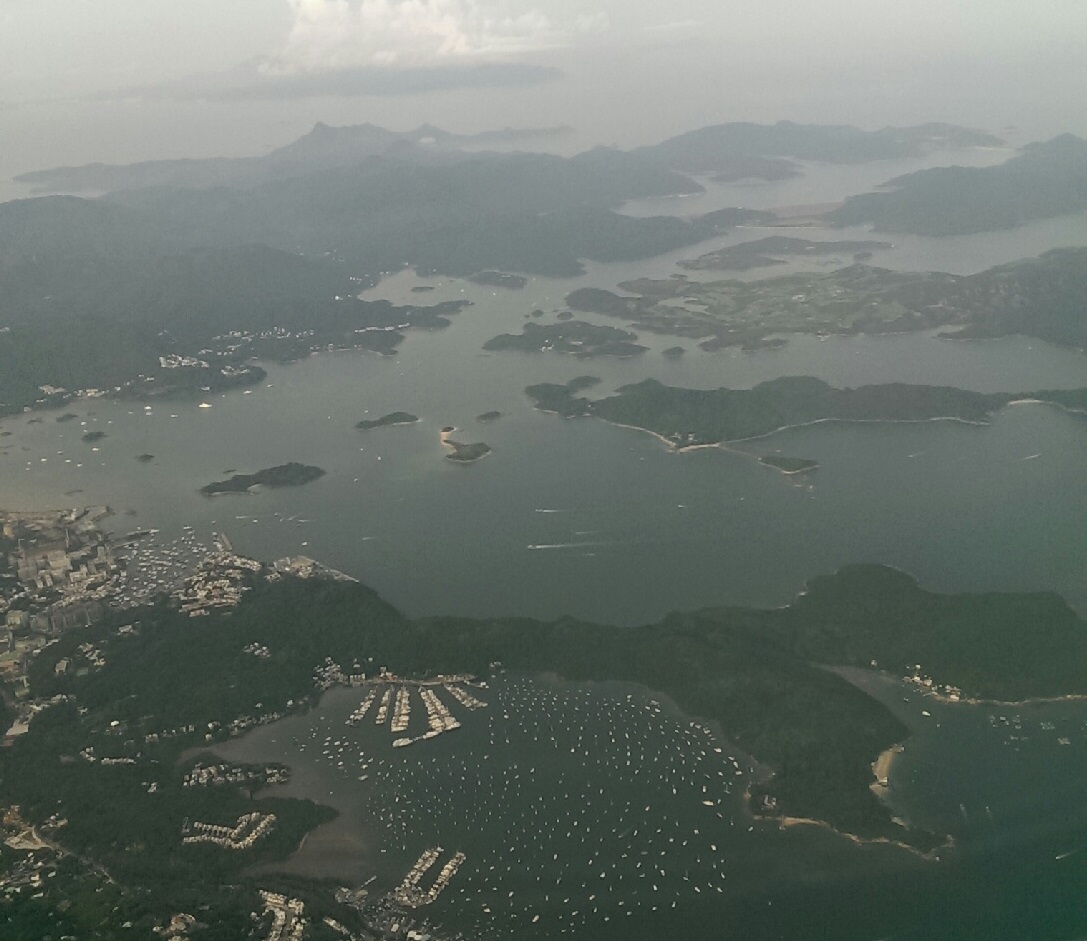
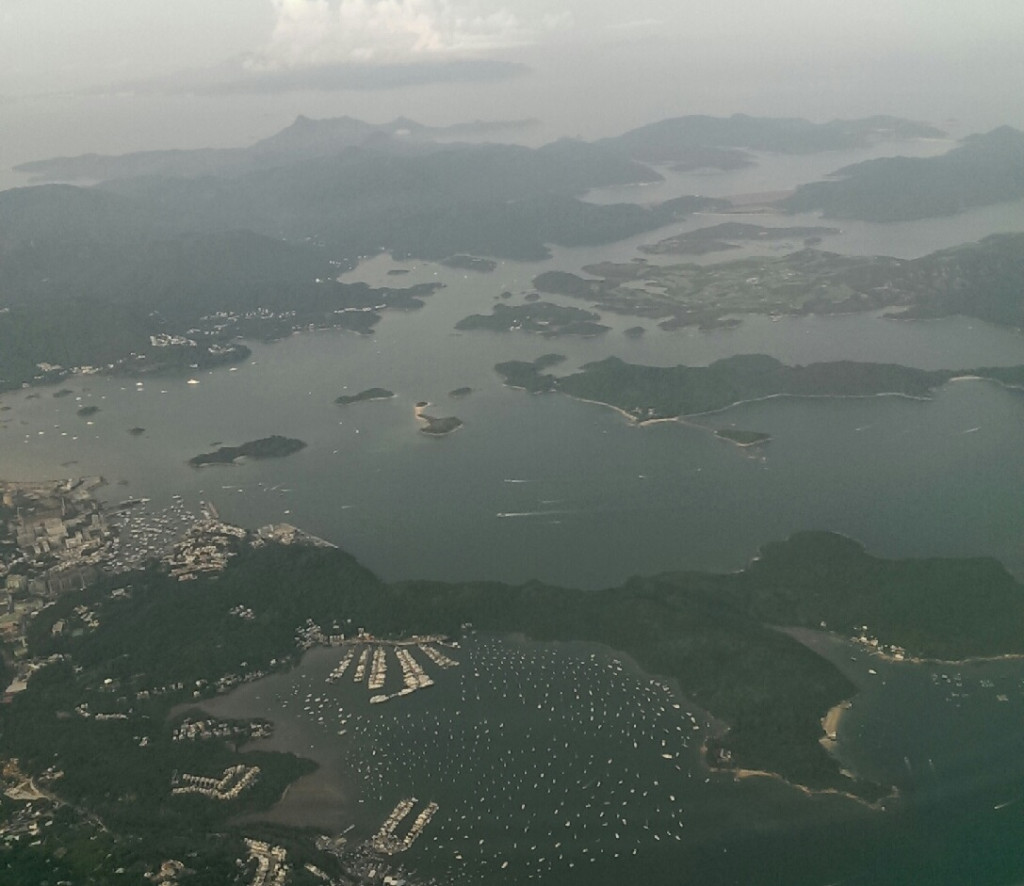
We arrived in Hong Kong on the 12th August and took a cab from the airport to Shruti’s Uncle’s place who offered us to stay with them during our time in Hong Kong. The Geography of Hong Kong amazed us. It is a series of islands with amazing hills connected by tunnels and bridges.
Tip: Look up public transport to get to your location. The city is very well connected with trains, buses, mini buses and ferries. Download the HK Transport app and use the free WiFi spots around the city. Get yourself Octopus Card (initial payment of $150 required, $50 is deposit) which works across all public transport and also in grocery / small eatery stores, such as 7-11, Gong Cha, etc. Remember to return your card at the Airport MTR station to get your deposit and value on card back.
We didn’t know this earlier but we had landed in the rainy season of Hong Kong. There was warm drizzle which occasionally got heavy. During our entire stay, the island had low lying clouds that made the city even more beautiful though the humidity was high.
Day 1
Our first day out in Hong Kong was in the Central area of Hong Kong. Once we got off the bus, we tried to find The Peak Tram so we could get to The Peak. Though we could get there by bus or taxi, the tram is much recommended for the experience!
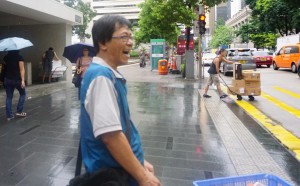 We were kind of lost until a delivery man (in the pic) told us to follow him. We had to communicate with him by pointing to a picture of ‘peak tram’ and he pointed us in the direction of the tram station. He saved us at least a half hour of walking.
Tip: Always ask a local :) They may not be able to communicate well but will definitely try to help. We asked for directions and local food suggestions from locals quite a few times.
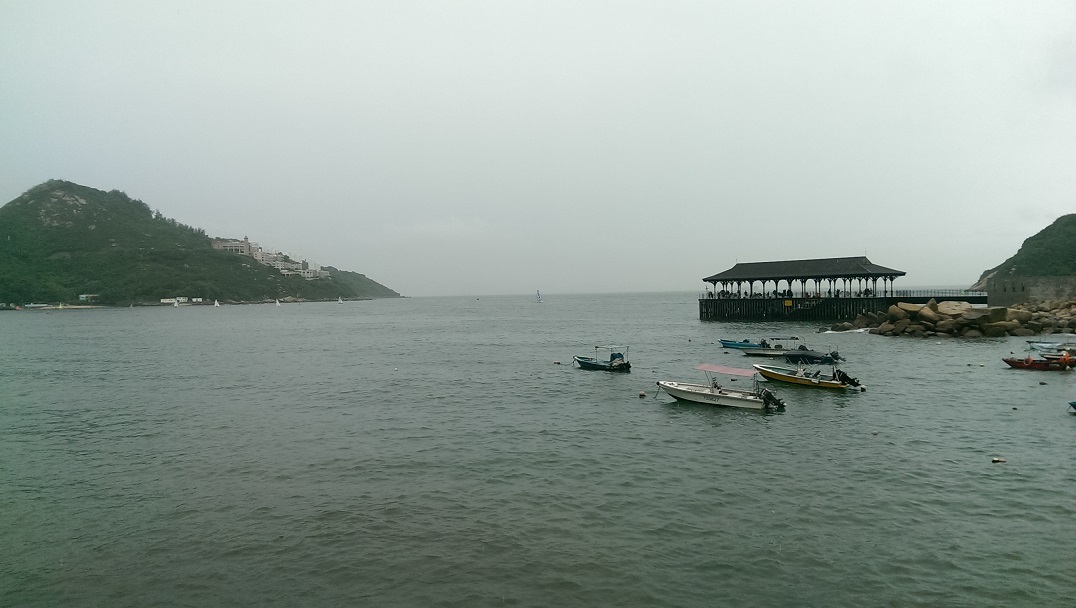
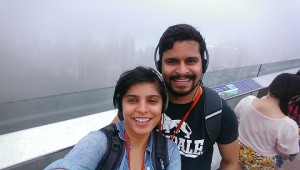 Being a cloudy day, we did not encounter lot of tourists at the Victoria Peak. There was hardly a queue and we got on the first tram. Victoria Peak is Hong Kong’s biggest tourist attraction and though it was misty, we were not disappointed. The temperature was comparably low (~26°C) and so was the humidity. Although only part of the Hong Kong skyline was visible occasionally, it didn’t affect our enthusiasm as we were literally in the cloud! I am sure the the view would be even more beautiful on a sunny day though.
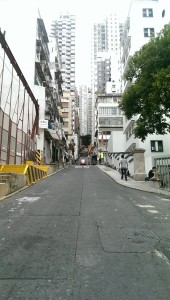 After this, we walked from the tram station across the suburbs of Shuen Wan with its antique shops, Lan Kwai Fong (LKF) with its bars and Causeway Bay with its high-end shopping. We walked up the very steep hill of Hong Kong, along the Aberdeen Street. We visited a local temple called Man Mo Temple as well.
Day 2
On day 2 we visited the Lantau Island, home to the Po Lin monastery and Big Buddha. We took a train from Central to Tung Chung for the cable car to Lantau Island. As it happened, there was a thunderstorm warning and we had to take a bus to the Island. It took us around 40 minutes on the bus and we were mesmerised by the beauty along the way.
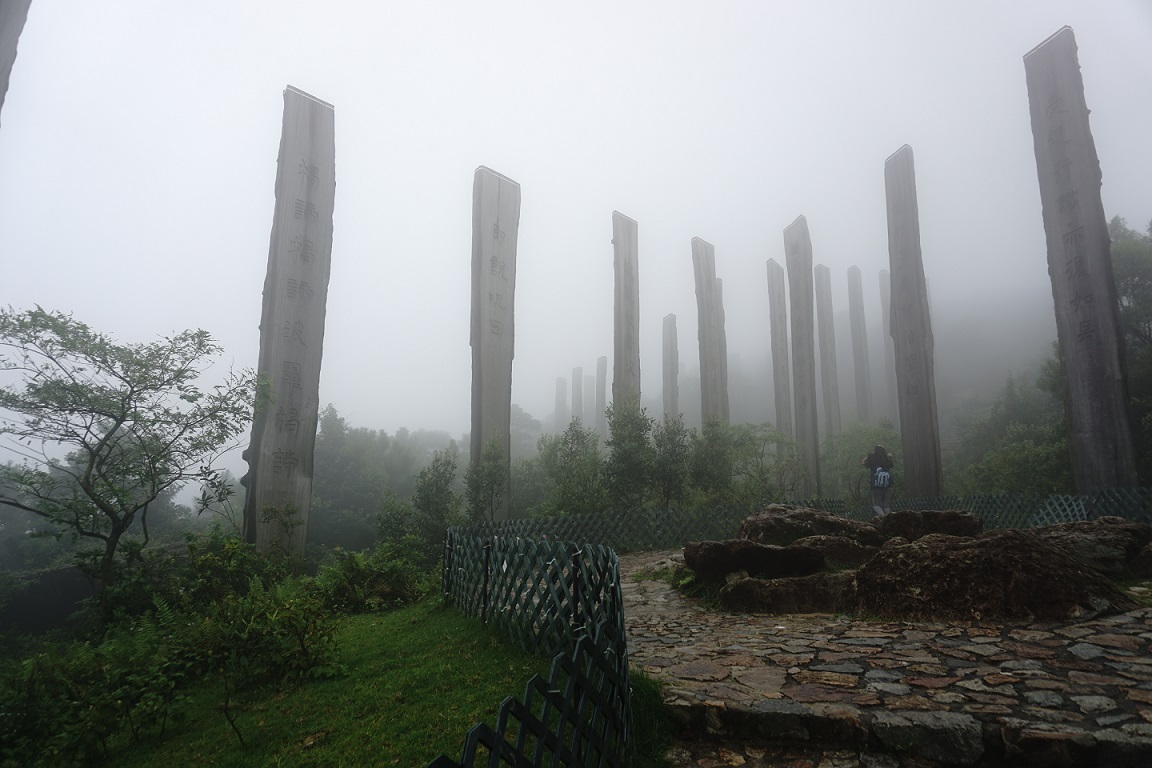
Once there, we first saw the Ngong Ping village which was a mock Chinese village with souvenir shops and restaurants from all over the world. It was very touristy but enjoyable nonetheless. As the clouds were constantly drifting, w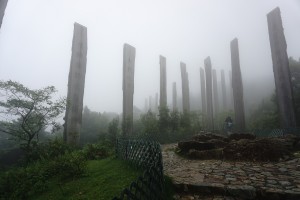 e decided to do a little walk along the Wisdom Path and visit the monastery later. The path itself was beautiful with mist through the greenery and deserted houses and shops. Although the visibility was low, we got a couple of good shots.
We then headed to the monastery which also serves strict vegetarian food. The interiors of the monastery were beautiful and the food was very tasty and cheap! We did overeat a bit ;)
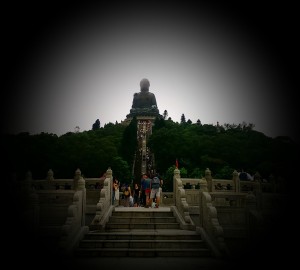 By this stage, the Big Buddha was visible clearly and we decided to walk up the stairs. It was an atrocious task to do after heavy lunch! We somehow managed it and the view of the Buddha, the valley below and the bay ahead was gorgeous despite the weather.
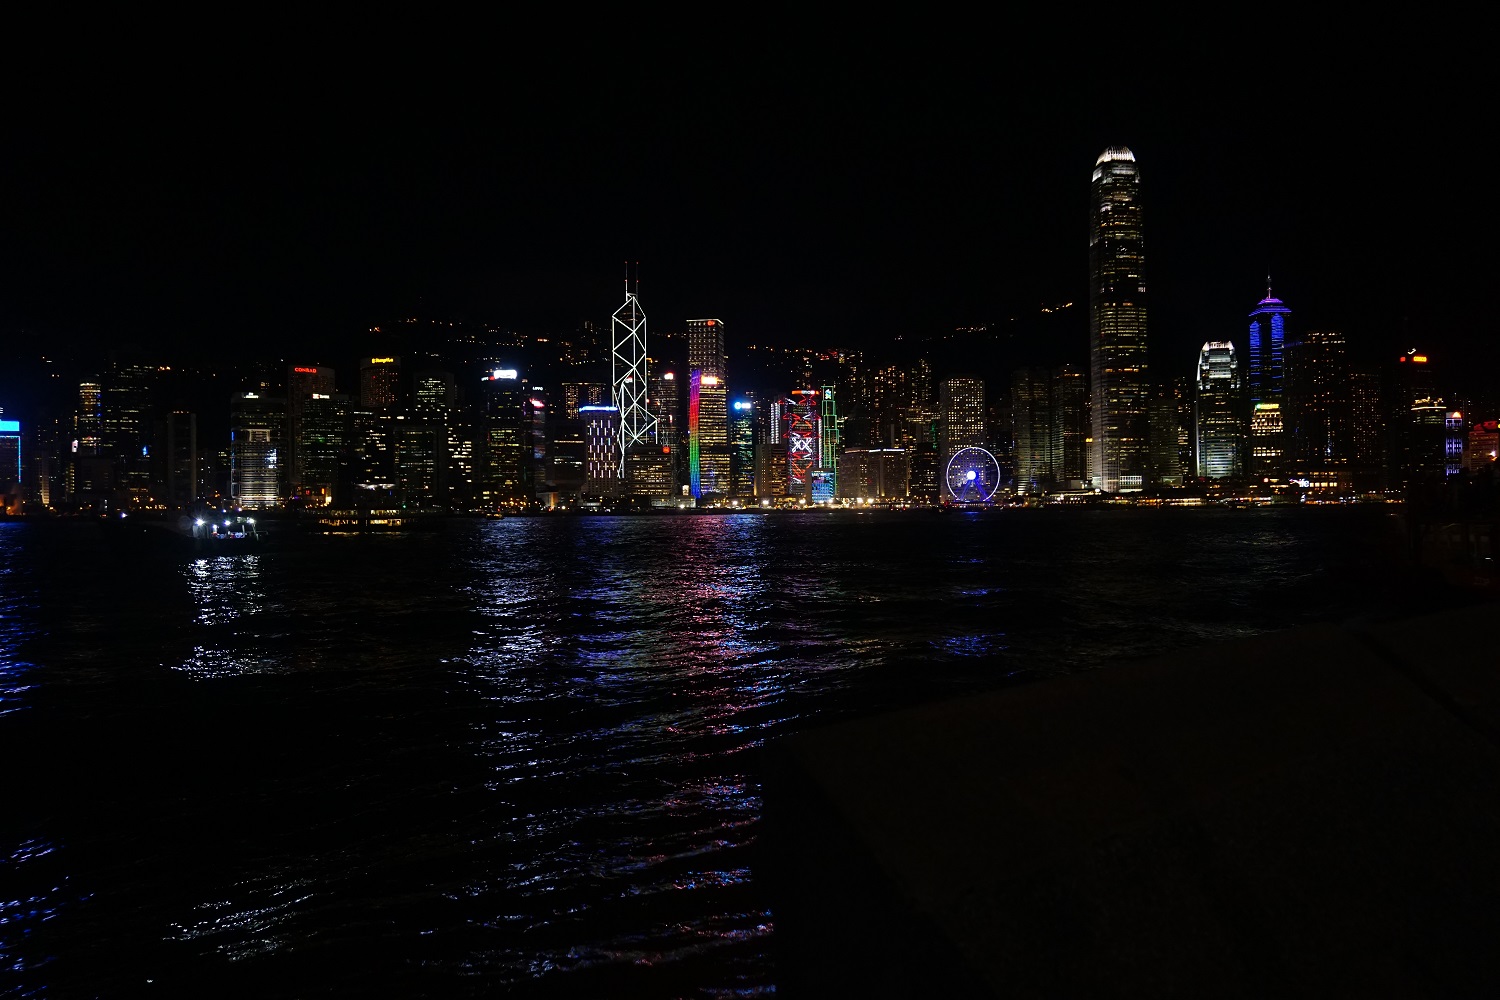
Following this, we took the cable car (must try, even if just one way) down the hill and caught a bus to the Mong Kok and Yau Ma Tei. The area is famous for its markets, namely the Ladies market and Temple St market. These markets basically sell everything under the sun! The weather turned bad at this stage and we walked undercover through the markets and took a train to Tsim Sha Sui area for the Hong Kong skyline. 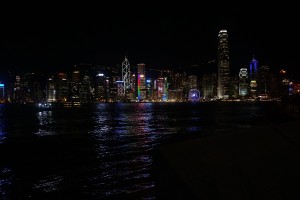 We happened to get there just in time for the light and sound show which takes place between 2000 to 2200 on Fridays and weekends (if I am not wrong). Hong Skyline itself was beautiful but the show was quite touristy and boring. We later did a quick walk along Avenue of Stars and took a photo of Bruce Lee :) We rushed home to meet Uncle, Aunty and their 3 boys who had returned from a long flight from the other side of the world. We stayed up with them till late just chatting away.
Day 3
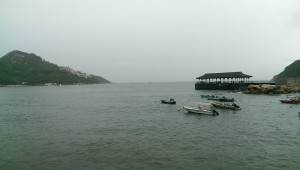 On day 3 our plan was to go to Lamma Island and do some trekking but there were thunderstorm warning and it would be impossible in the pouring rain. Therefore, we took a bus down to Stanley area and chilled there till late. Stanley was a quiet fishing village until it was taken over by expats in Hong Kong. Now, it is a mix of the local fishing community, expats and tourists. The bus from the South of the Island dropped us to Aberdeen and we decided to walk to Uncle’s home.
Day 4
Our final day in Hong Kong, We again went to the Central area. We had left a few ‘Hong Kong’ things the first day and we decided to finish them off. We rode the mid level escalator from top to bottom of the hill which was a unique experience.
Tip: The escalators function in one direction only. They usually run downwards from 0600 to 1000 and then upwards for remaining day.
Next, we went to Yum Cha and quickly googled Cantonese numbers so we would know when our table number was called out. The food was amazing, and relatively cheap, though Shruti has trouble getting vegetarian food. A quick Star Ferry across the Victoria Harbour and we visited the Hong Kong Museum of History. The museum provided us with an insight of the story of Hong Kong, its past as fishing villages of Guangzhou province to being ceded to the British in the Opium Wars and finally becoming a huge financial centre and merging with China.
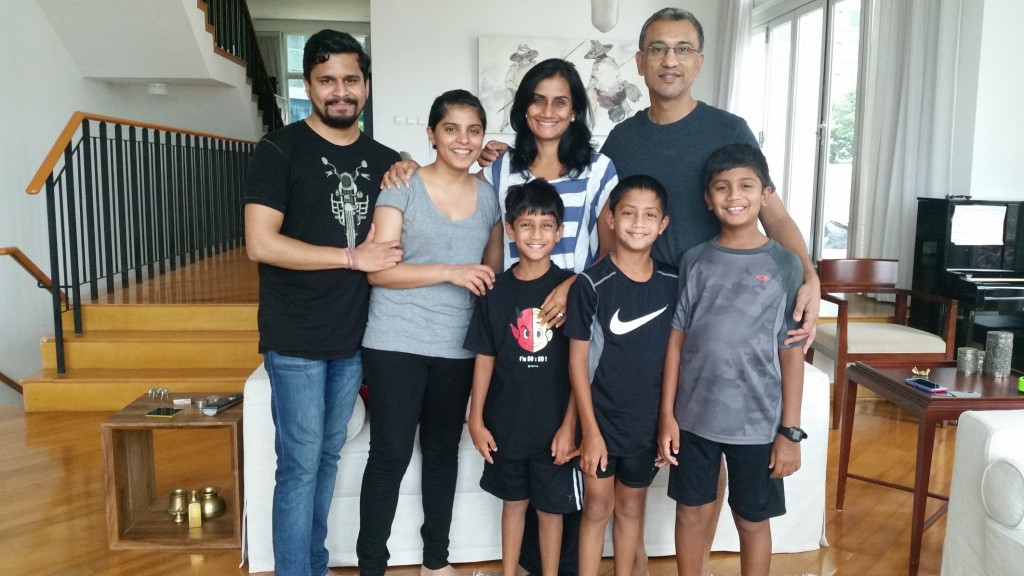
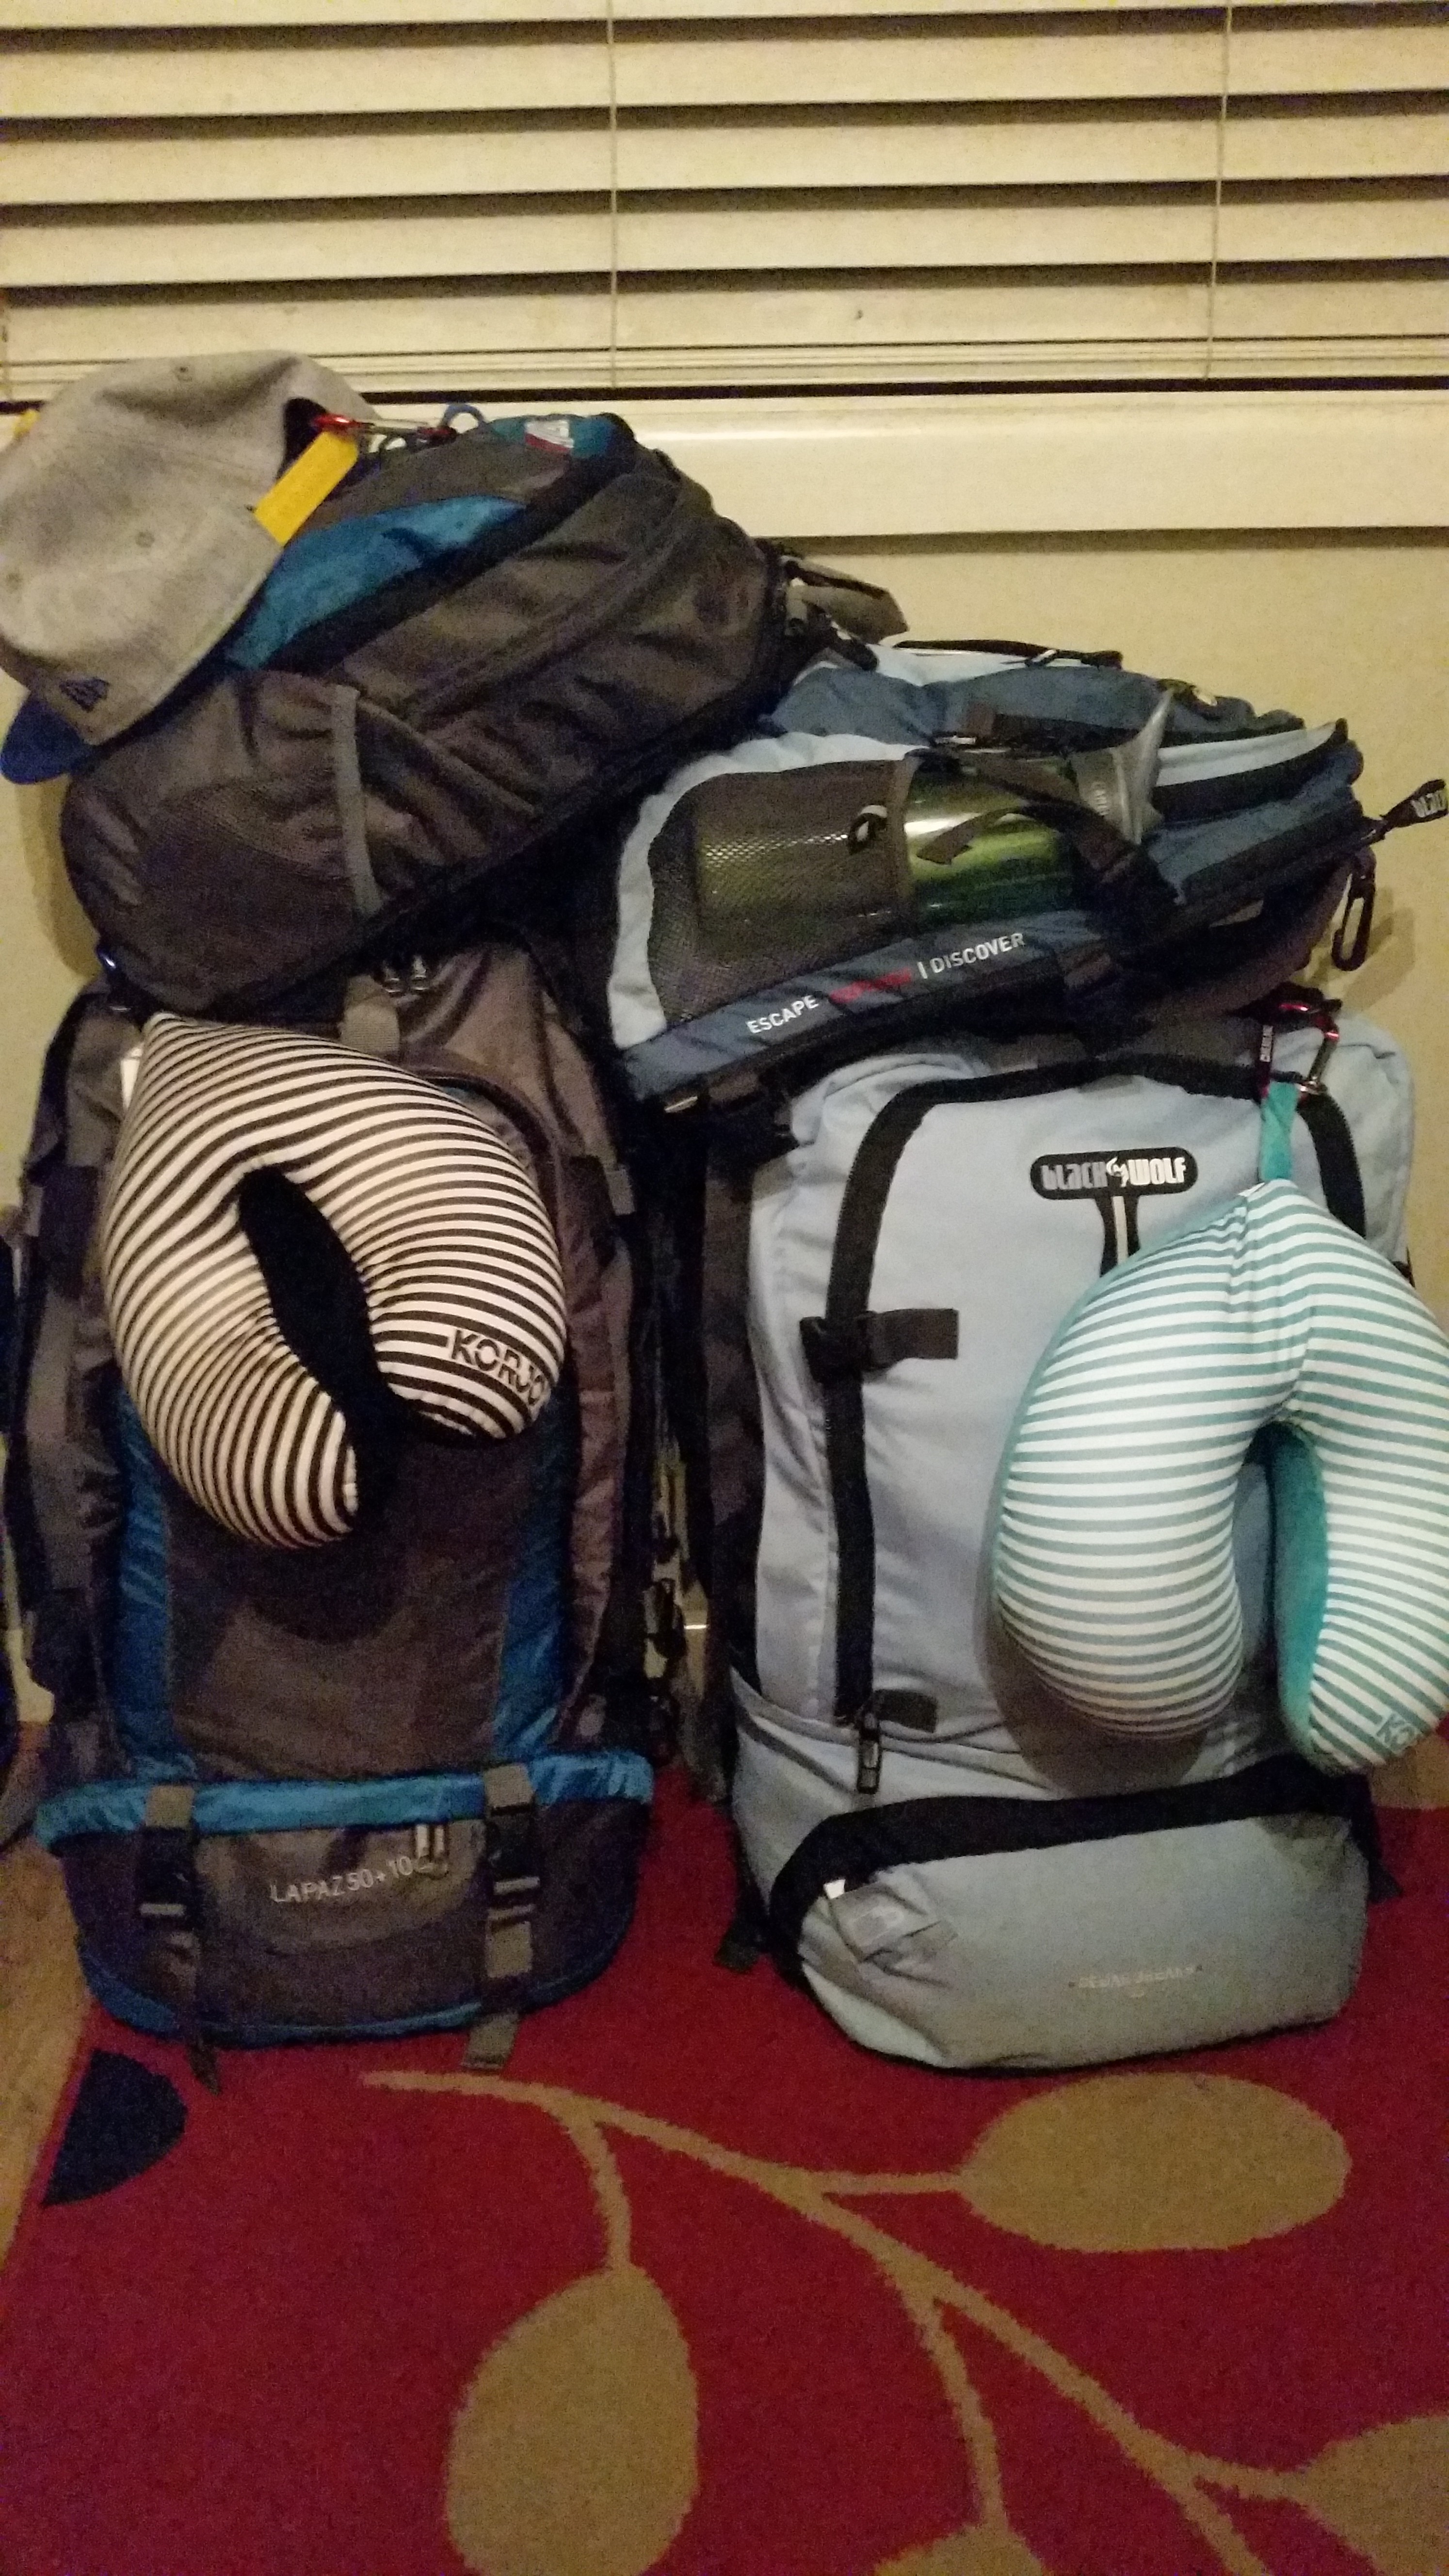
Finally, we took a bus home, packed and said our goodbyes to Uncle, Aunty and the boys. On the way to the airport, we decided to change buses instead of taking the Airport Express train. And, we did keep our fingers crossed for our baggage weight as we were flying with a budget airline.
We had dinner with Shruti’s family friend and later boarded our flight to KL. That was it for our first destination – 4 days in Hong Kong!
In Summary
Highlights – Victoria Peak, Central and Causeway area, LKF for bars and night out, Mong Kok, Tsim Sha Sui and Lantau Island.
If you are keen to shop, I’ll recommend you to carry an empty suitcase and filling it up there. Also, brush up your bargaining skills ;)
Transportation – Hong Kong has a immaculate transportation system. Buses / mini buses are available to most places and trains are also fast and cheap.
Weather – August may not be the best month as it is monsoon season. However, it wasn’t so much of an issue for most people here. In our 4 days here, it only rained heavily once.
Cost – HKD 100 would be enough for a decent breakfast and lunch from local eatery while for dinner you would probably spend around HKD 300. Alcohol is available in convenient stores and most dinner places are BYO – you just need to carry the receipt for the alcohol. Otherwise, you would be paying around HKD 50 – 70 for a drink as average.
For transport, we spent about HKD 175 for 4 days, so that should give you a bit of a gauge.
Recommendations – Qi – House of Sichuan, Tim Ho Wan at IFC Mall Airport Express level, Po Lin Monastery
Final Thoughts
We had an amazing time in Hong Kong. It is a beautiful city with a great culture and character. The geography is straight out of Kung Fu Panda and you don’t have to go very long from concrete jungle to misty trails. The food and alcohol are not the cheapest but transportation, environment and activities make up for it.
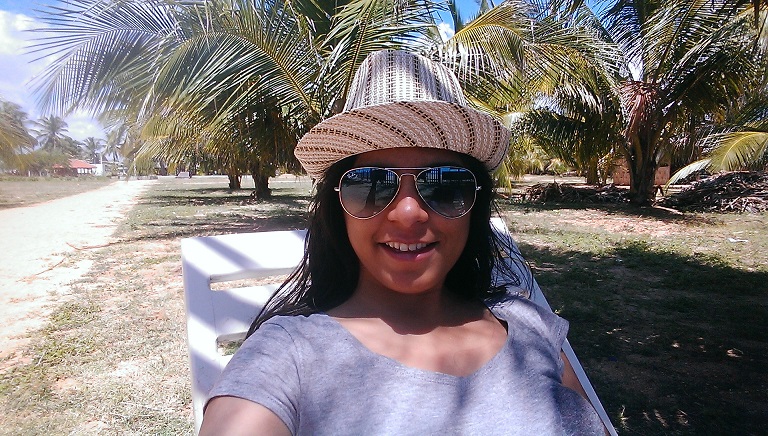
Hong Kong Gallery